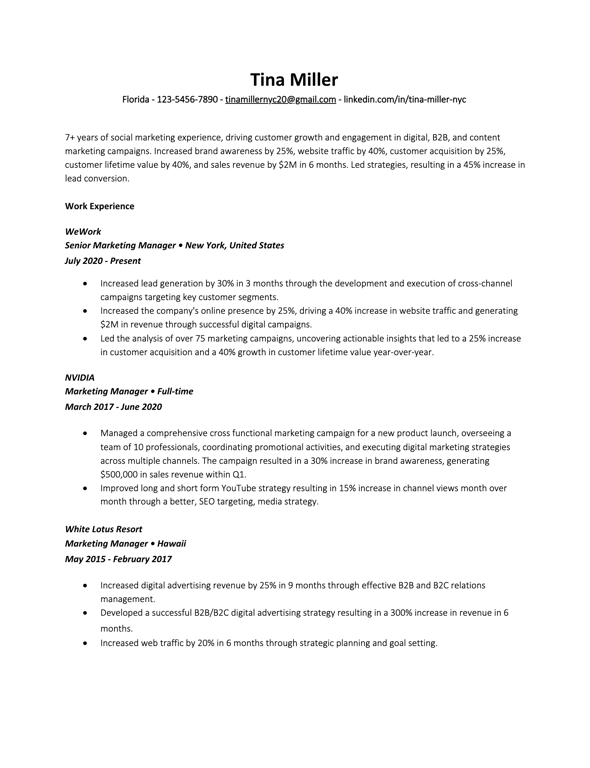
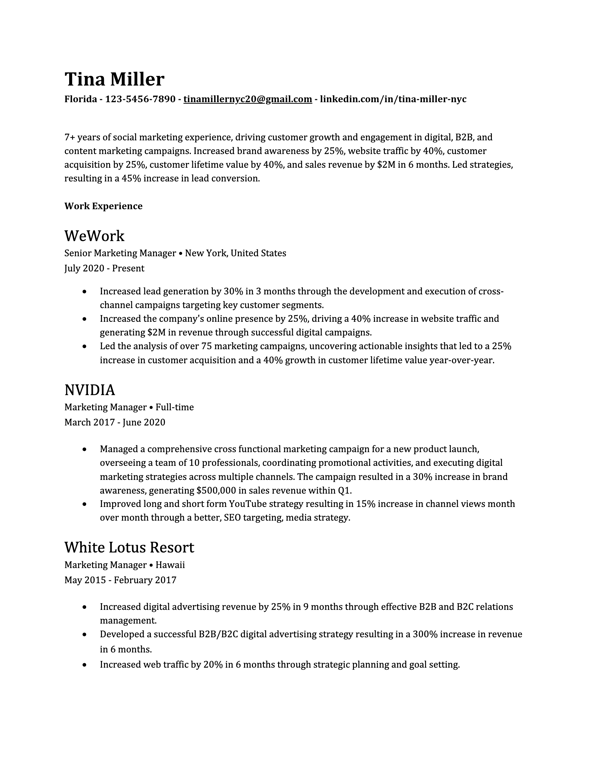
Free Resume Templates to use in 2026
Your next job is just a few clicks away. Explore 100+ free resume templates and discover the best resume formats for 2026, including chronological, functional, and combination styles. Teal’s templates are ATS-friendly and designed to help job seekers land interviews 6x faster and get hired 58% sooner. Whether you need a fresh design by industry or a format that best highlights your experience, you can easily customize and download a professional resume that accelerates your job search.
Create your resume


Members have been hired at…


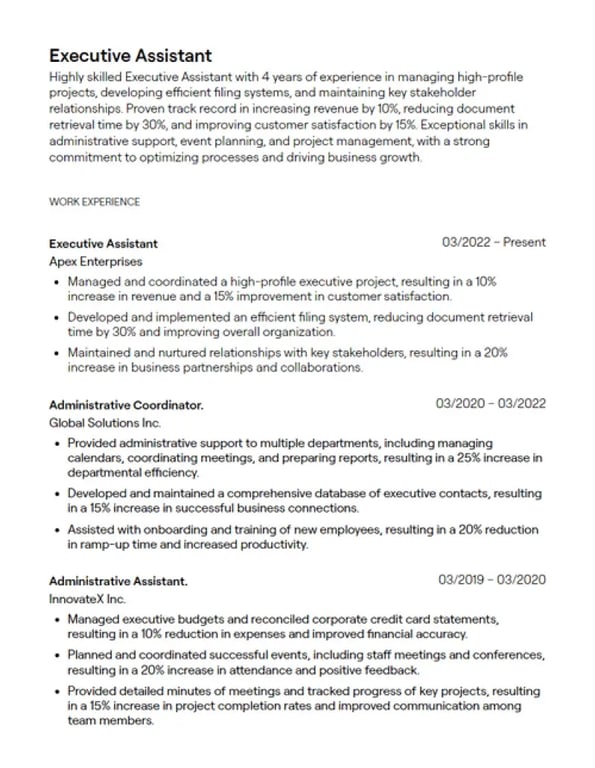
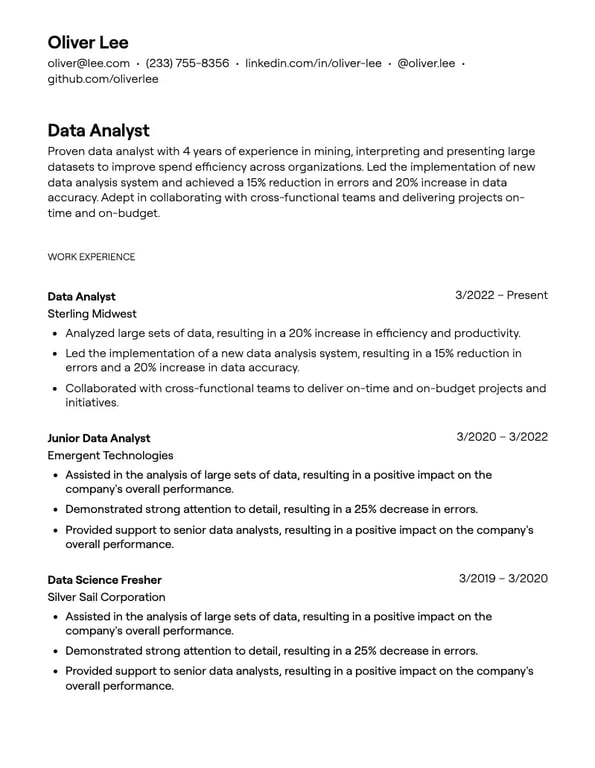
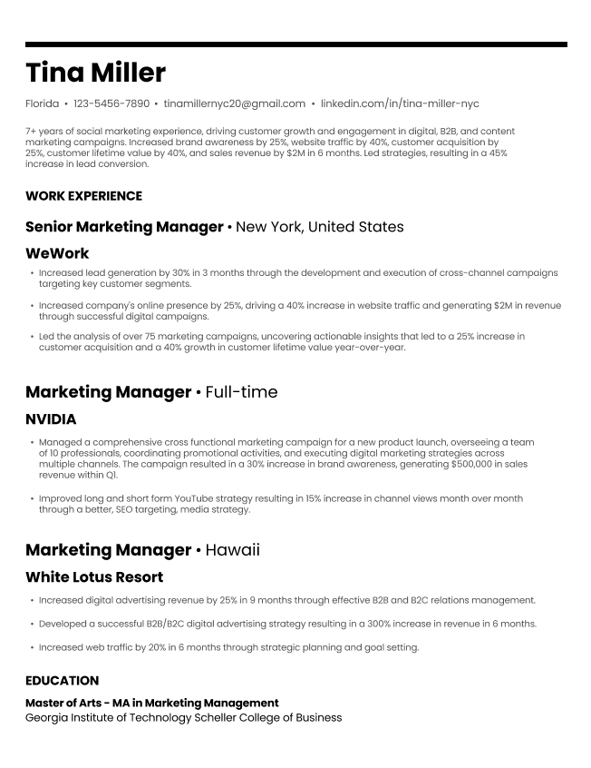
Resume Templates by Job
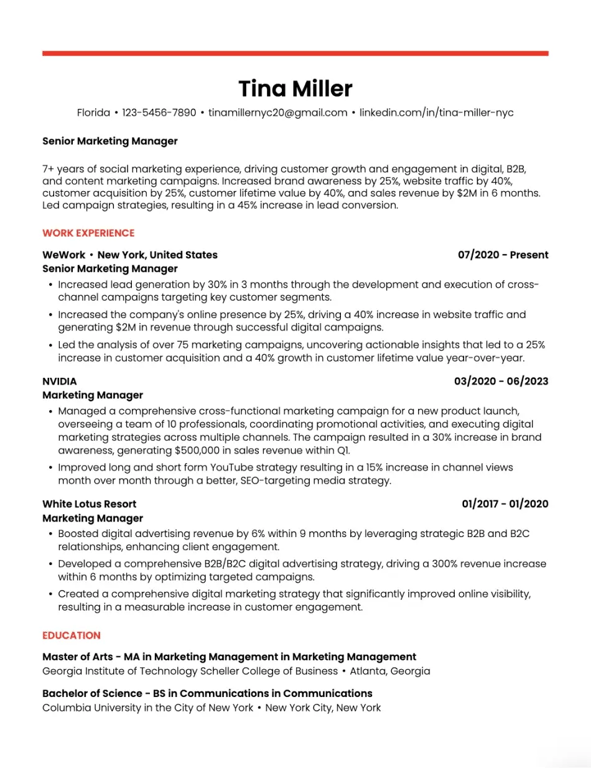
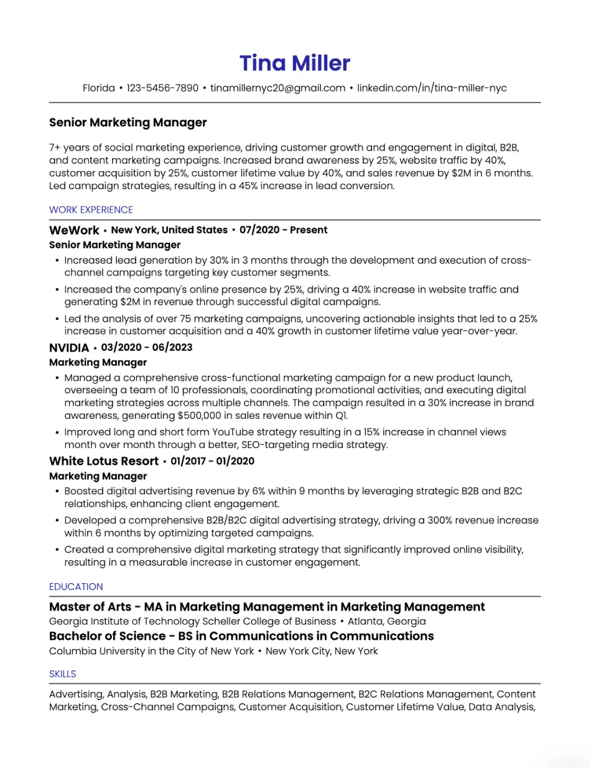
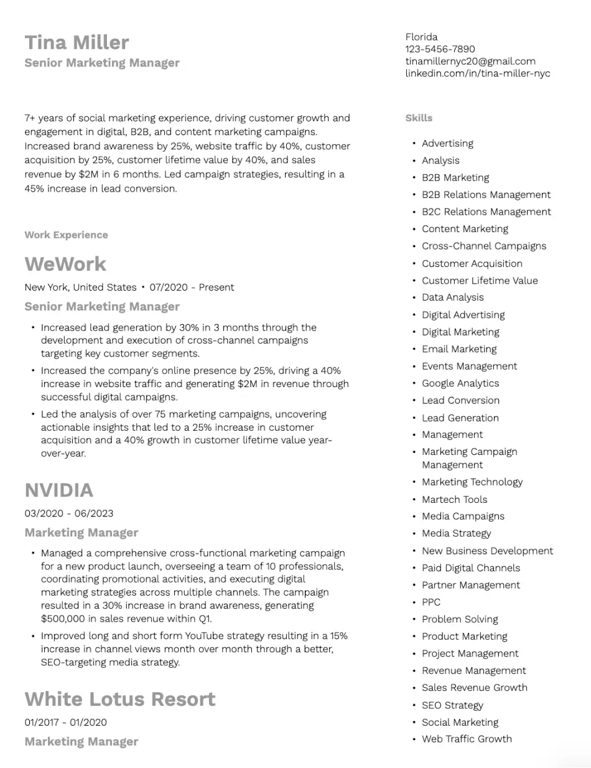
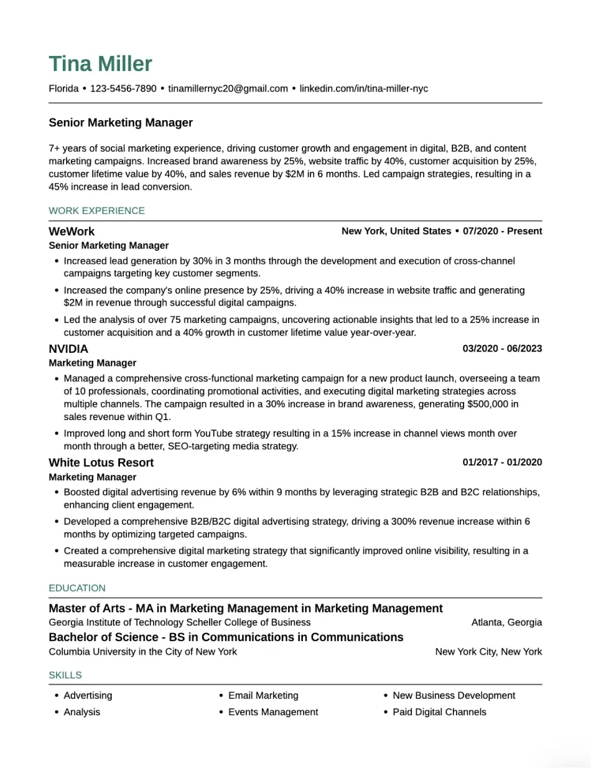
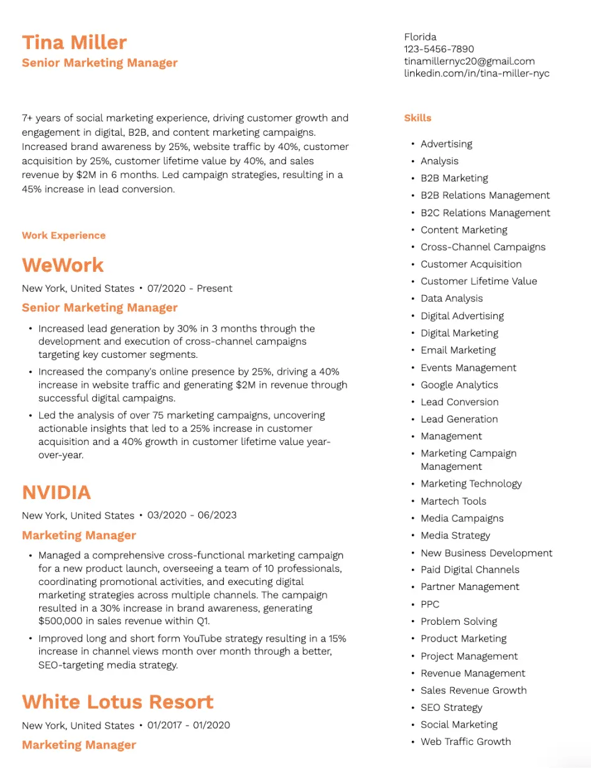
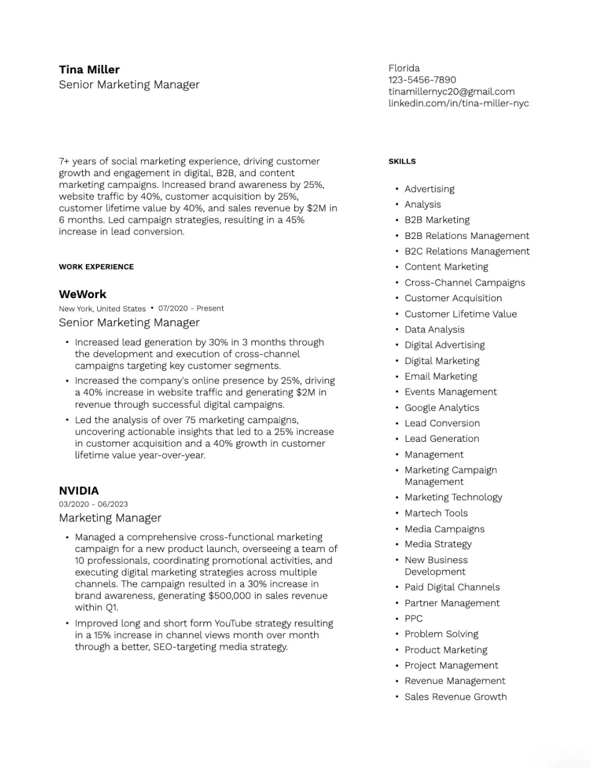
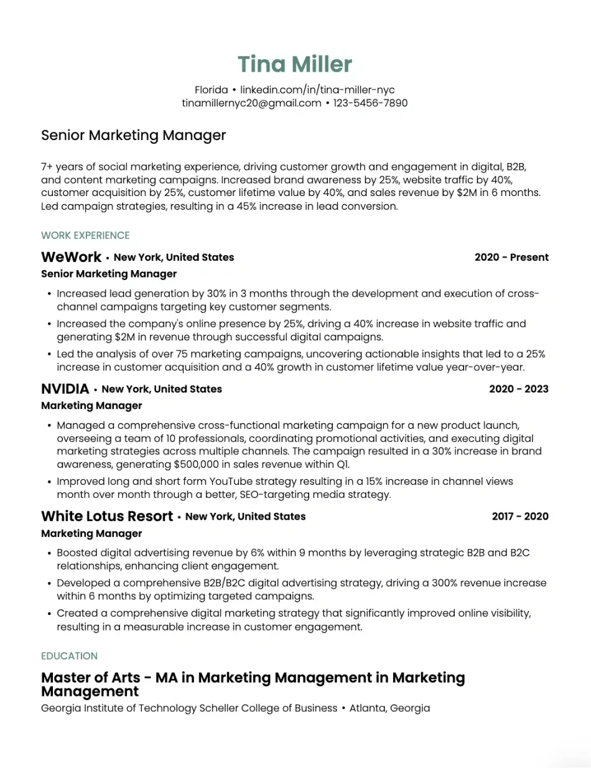
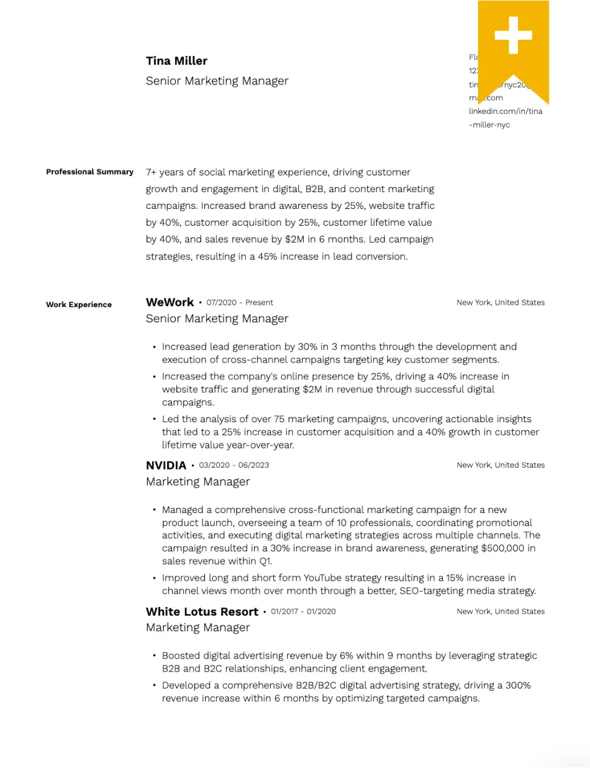
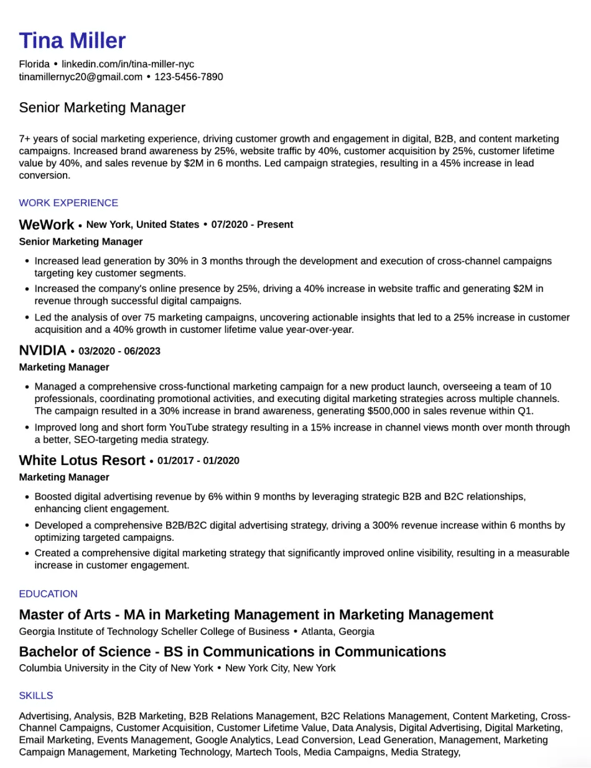
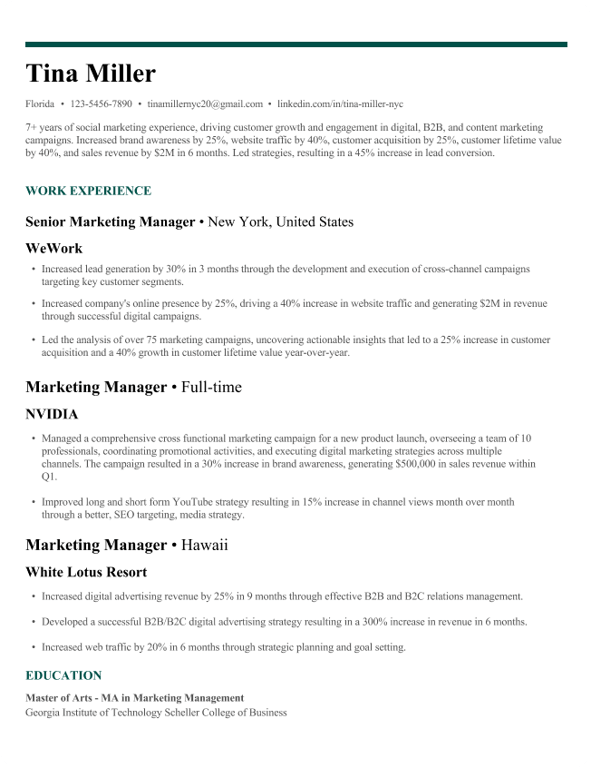
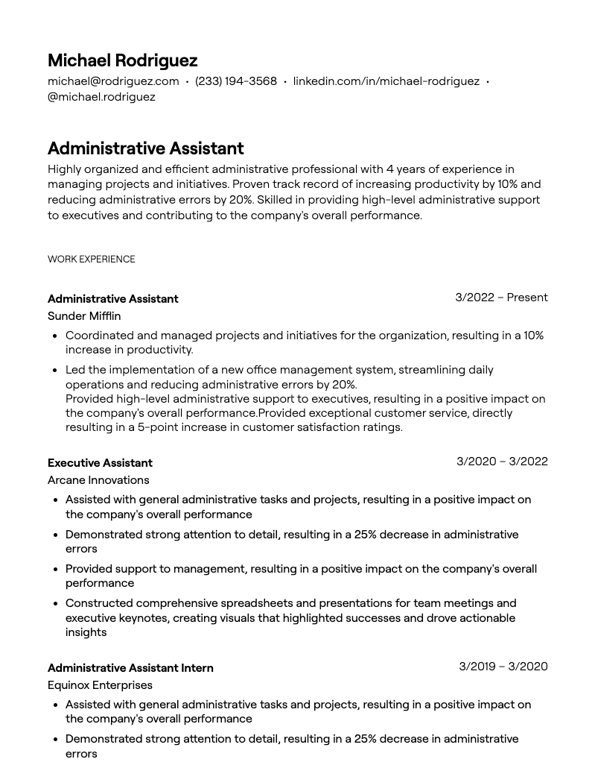
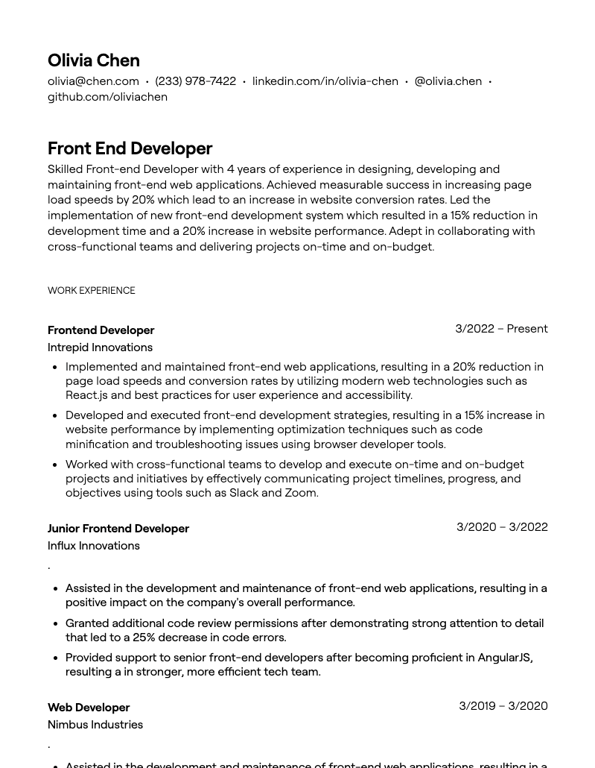
Explore our comprehensive selection of resume examples across job titles, industries, experience levels, and more. Draw inspiration from thousands of real samples hand-picked by our team.
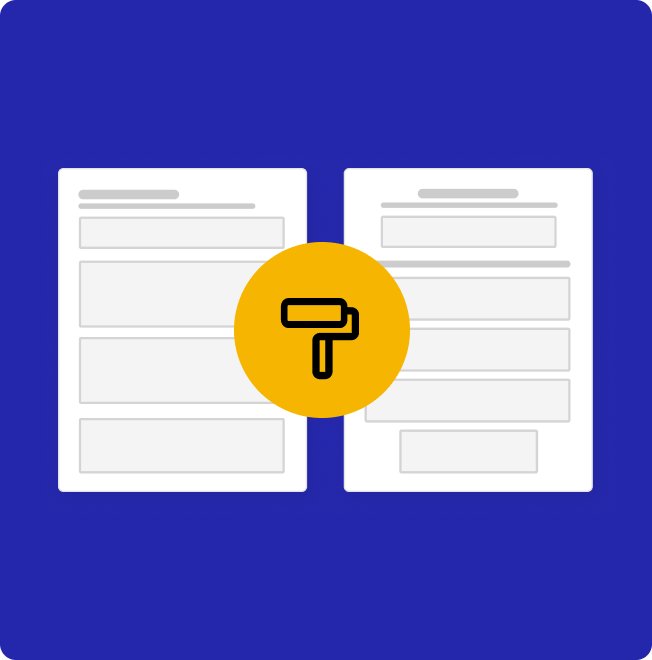
Complete Design Control of your Resume Templates
ATS-friendly resume templates tested to pass applicant tracking systems
Over 4 million job seekers have used Teal’s templates – and landed roles at Google, Amazon, and more.

Love the platform
100% game changer. Instead of reworking my resume over and over, it's helpful to have clear direction on which tweaks to make and how to tailor it for the job you are applying for. It brings in metrics and measures how closely your resume matches the job requirements, responsibilities. Love the creators/founders. Super supportive and really friendly!

Its resume builder excels
I would say this is the BEST tool and chrome extension I've used so far. It greatly decreases the amount of time it takes to track job postings and applications and tailor resumes. Its resume builder excels at identifying keywords and assessing alignment.

Grow your career
It is by far one of the most beautifully designed, intuitive, and powerful job application tool I have ever come across. If you are a professional looking to maintain your network, job search with purpose/intentionally, and continually grow your career, look no further than Teal.
Modern Resume Templates
Discover our sleek and innovative modern resume templates, designed to make your application stand out with contemporary flair. Perfect for showcasing your skills in a stylish and professional format.
View Modern Templates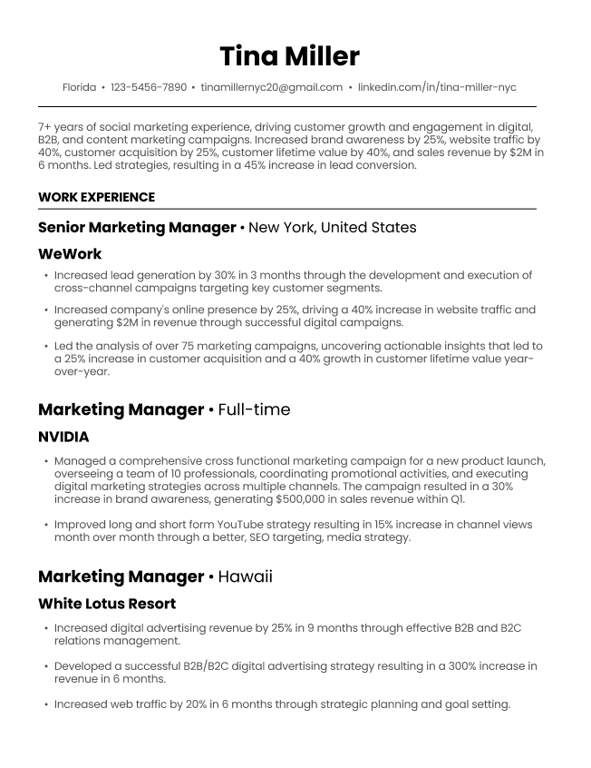

Creative Resume Templates
Explore our creative resumes made to balance innovative design with clarity and functionality. The creative, artistic style is great for professionals who want to demonstrate out-of-the-box thinking and artistic skills.
See Creative Resume Templates 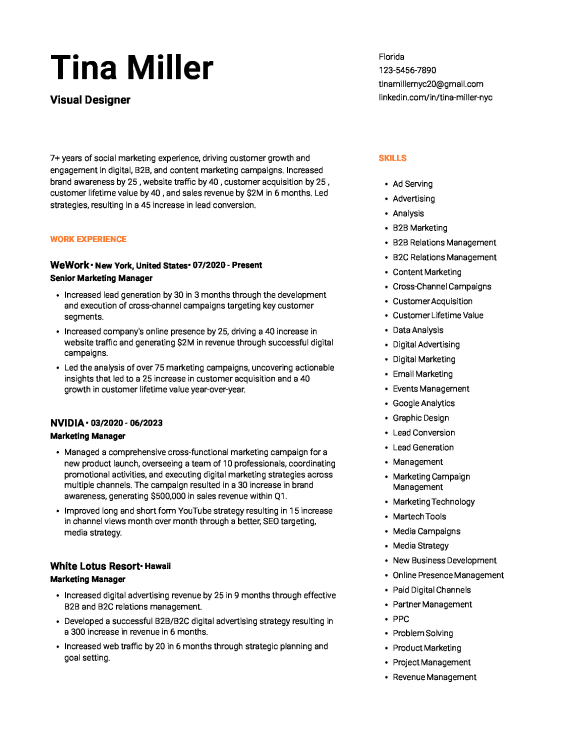
Simple Resume Templates
Explore our collection of simple resume templates that offer clean, straightforward designs, ideal for presenting your qualifications clearly and effectively.
View Simple Templates
Reverse-Chronological Resume Templates
Browse our reverse-chronological resume templates, perfect for highlighting your most recent and relevant experience at the top, ensuring your career progression is immediately clear.
View Chronological Templates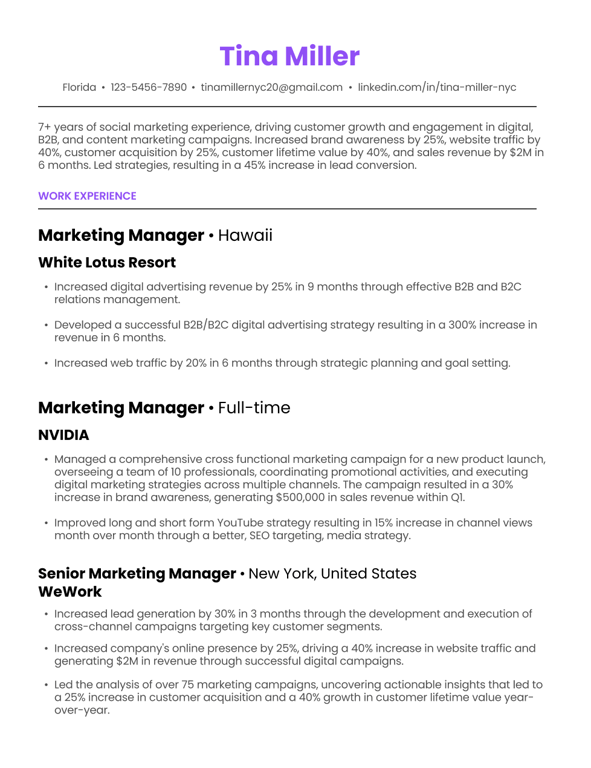
Traditional Resume Templates
Check out our traditional resume templates, featuring classic layouts that are timeless and professional, making them suitable for any industry.
View Traditional Templates 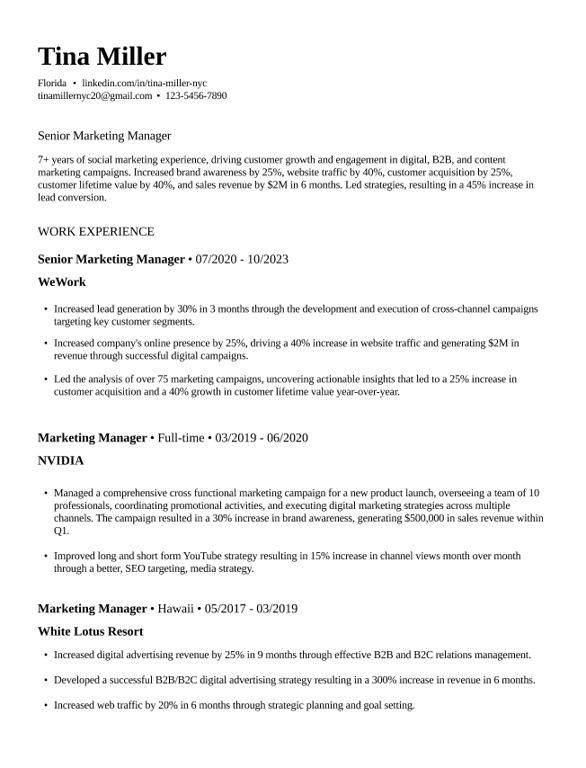
Google Docs Resume Templates
Utilize our Google Docs resume templates for easy, cloud-based editing and sharing, ensuring your resume is always accessible and up-to-date.
View Google Templates
Microsoft Word Resume Templates
Leverage our Microsoft Word resume templates for flexible and user-friendly customization, perfect for creating a polished and professional resume.
View Word Templates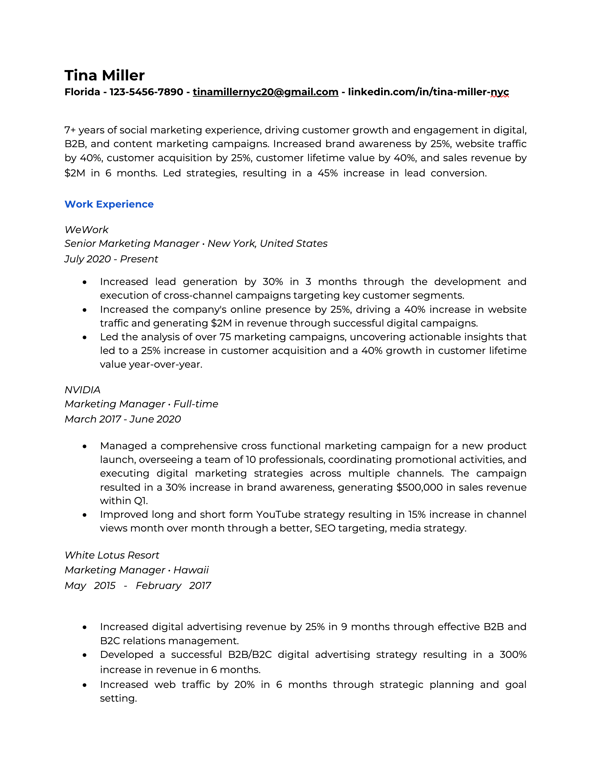
Types of Resume Formats in 2026
The complete guide to crafting impactful, one-page resumes and making effective use of limited space.
Explore the benefits and use cases for two-page resume. See when it's strategic, and when it's not.
Discover the best resume formats to stand out in todays job market as we head into 2025.
Build Faster with our Free Teal Resume Templates
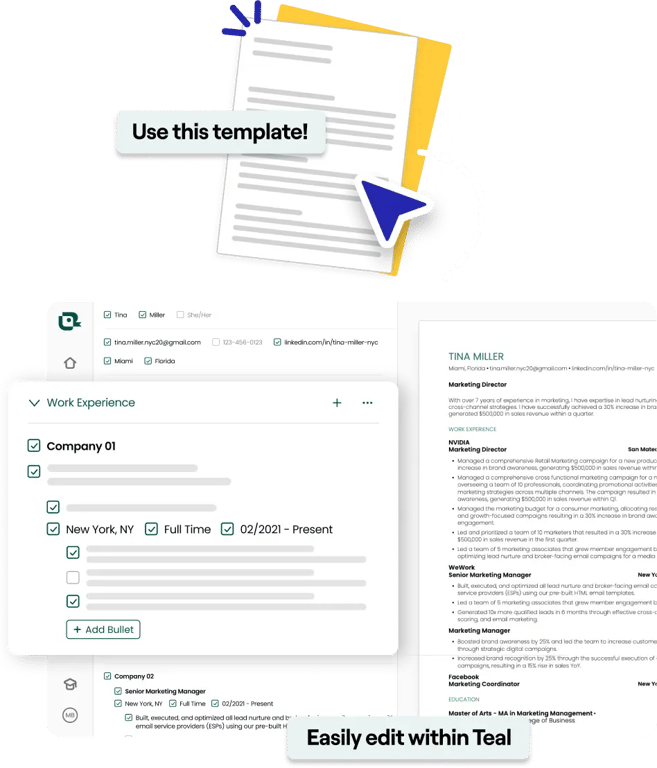
Find and select a resume template
You'll be taken into the Teal Resume Builder
Update the template with your information
Import your existing resume, connect your LinkedIn profile, or quickly add the details yourself
Customize your template further
Dozens of formatting options with granular control over the look and feel of your resume template
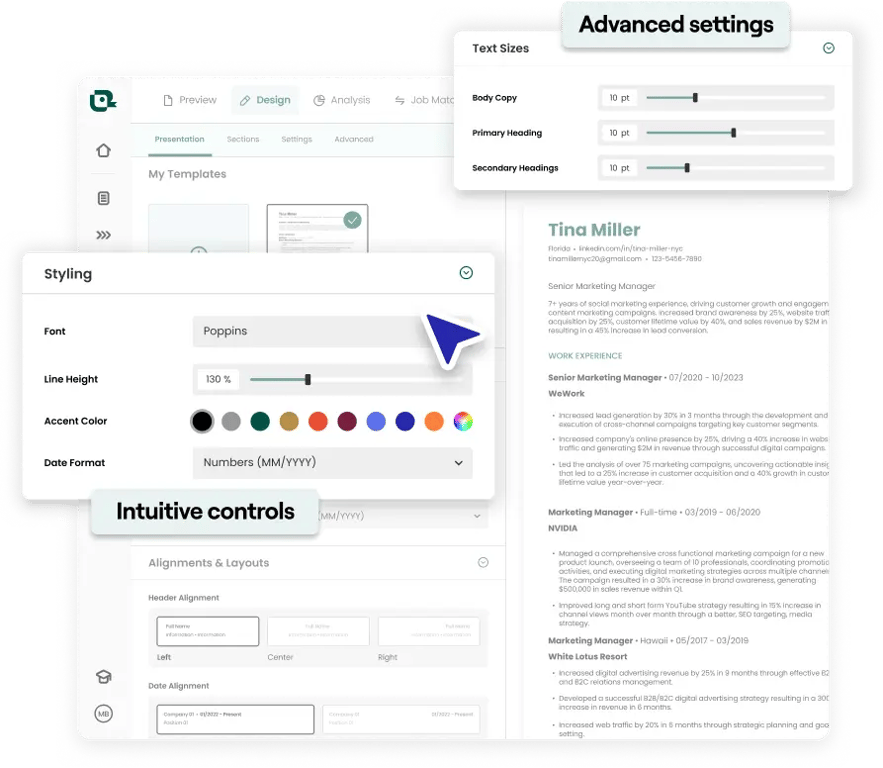
Customize Your Next Resume Template with Teal
Take full advantage of Teal's advanced customization options that give you full control over the look and feel of your resume template.
- Font
- Color Patterns
- Margins
- Alignment
- Date Formatting
- Date Range Control
- Section Order
- Section Groupings
- Skill Categories
- and more
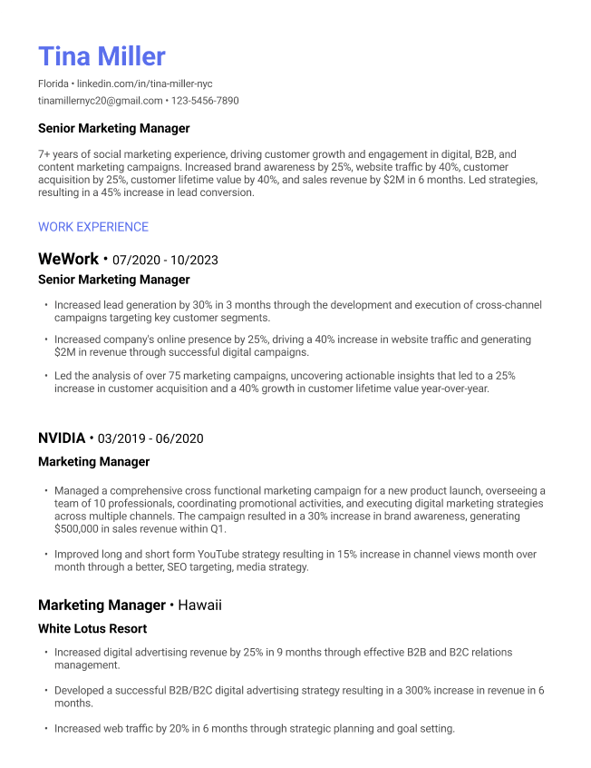
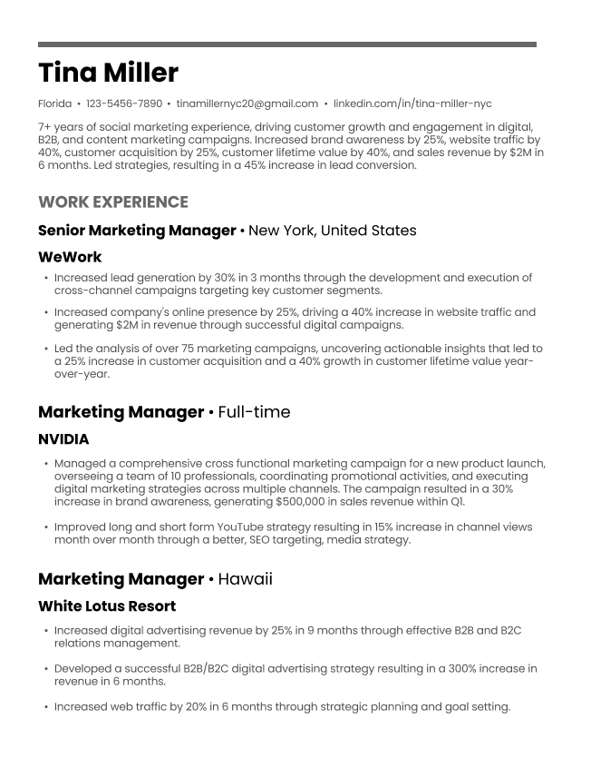
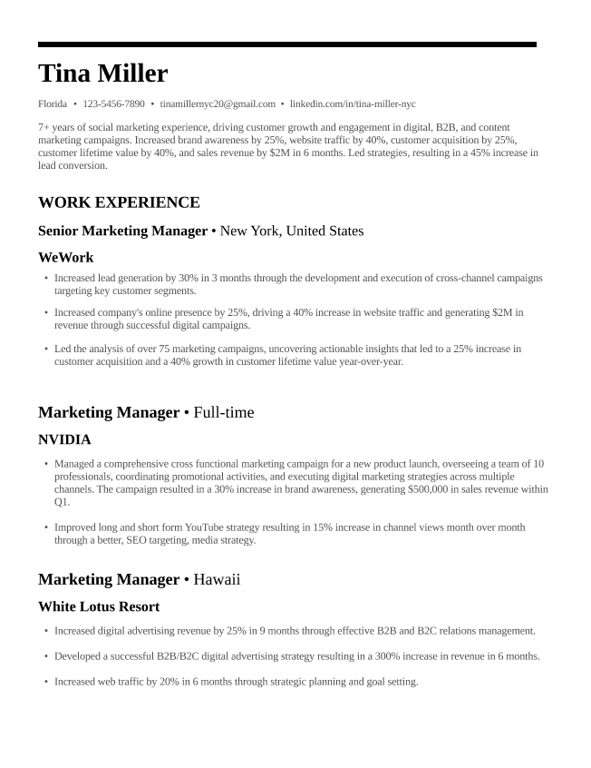
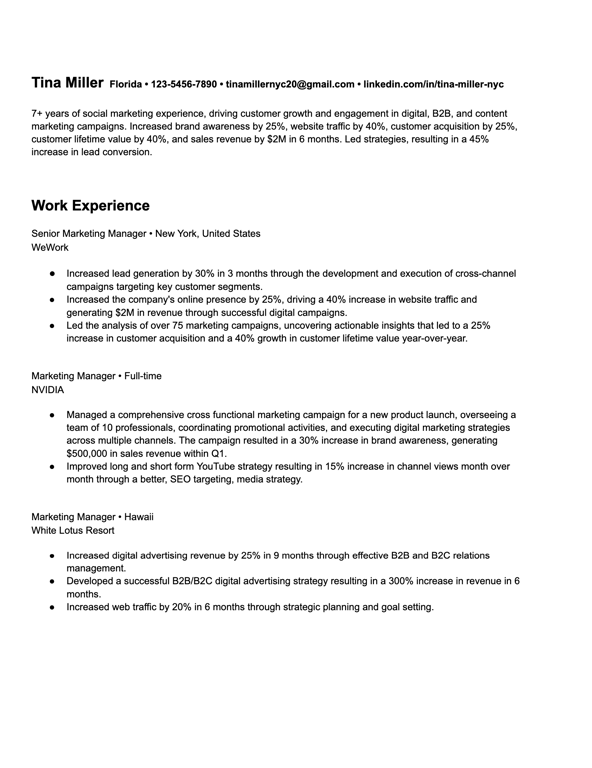
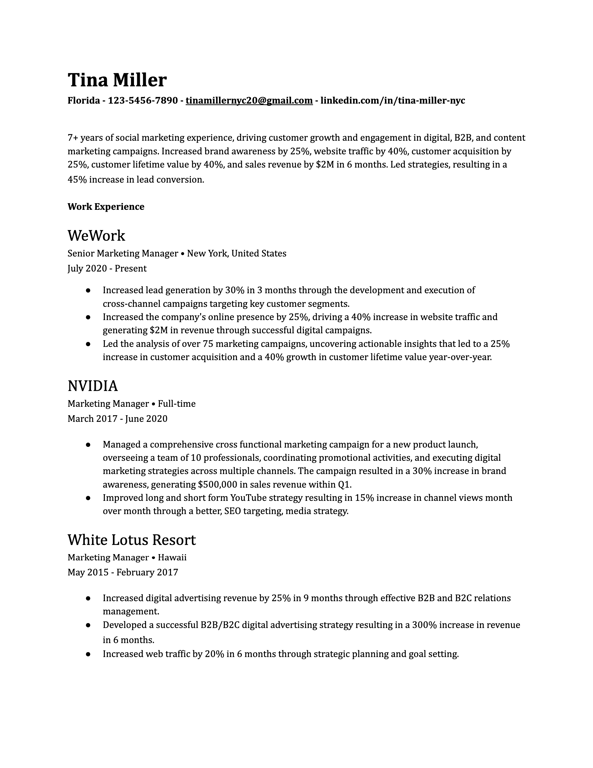
Choosing the Right Resume Template
The journey to landing your dream job often begins with presenting a resume that stands out. In today’s highly competitive job market, the template you choose for your resume is more than just a backdrop—it’s a powerful tool that can convey professionalism, highlight your personal brand, and make your qualifications shine.
But with so many different resume designs and formats available today, how exactly do you ensure you're selecting the template that best represents you?
One important insight to remember is that your resume template should complement, not overshadow, your content. It’s akin to selecting an outfit for an interview: while you want it to be stylish and professional, it shouldn't distract from who you are and what you bring to the table.
The right resume template will accentuate your career achievements, guide the reader seamlessly through sections, and resonate with the industry or role you're pursuing.
Let’s delve deeper into the nuances of resume template selection, the key aspects that define a great template, and the important things you’ll want to consider to make sure the template is right for your journey.
Key Aspects of a Great Resume Template
A resume, at its core, is a tool to communicate your professional value. While aesthetics play a role, it's the practical and functional elements of your resume template that often dictate how effectively you can convey this value. A stellar template doesn't just look good; it's thoughtfully designed to present your career trajectory, accomplishments, and skill sets in the clearest and most compelling manner.
With countless templates available, it's essential to discern the attributes that genuinely matter, those that can amplify your potential and position you as the right fit for the desired role.
Here are some key features of an exceptional resume template:
Structured Layout
An intuitive layout is paramount. Clear section dividers ensure that your potential employer can easily distinguish between your education, experience, skills, and other pivotal sections. This streamlining simplifies their task and accentuates your qualifications.
Focused Content Areas
Quality trumps quantity. Templates that encourage concise, relevant content, with dedicated areas for key achievements or career highlights, ensure that your most compelling attributes aren't lost in a sea of information.
Strategic Use of White Space
An overcrowded resume can be daunting. Efficient use of white space makes your document more readable, directing attention to the key points while giving the eyes a break. It balances out text and visuals for optimal engagement.
Adaptable Sections
Not everyone's career path fits a cookie-cutter model. The best resume templates offer adaptability, allowing you to add, remove, or adjust sections based on your unique experiences and the role you're targeting.
Guidance on Action Words and Phrasing
An added bonus in high quality resume templates is guidance on verbiage. Templates that offer cues or suggestions for strong action verbs and impactful phrasing can assist in elevating the content.
Key Considerations for Your Resume Format
Choosing the ideal resume layout demands thoughtful consideration of your unique situation, career level, industry norms, among other factors. It's key to align the template with your narrative, to ensure that every element works to showcase your strengths and potential.
Here's a checklist of important considerations to help you make the right choice:
- Industry Conformity: Does the template reflect the professional standards and expectations of your industry? Creative fields may appreciate innovative and colorful designs, while traditional sectors might favor more conservative styles.
- Experience Level: Ensure the template complements your career stage. Entry-level professionals might benefit from templates that highlight education and skills, whereas executives should opt for formats that emphasize leadership and accomplishments.
- Readability: Opt for clean, legible fonts and a well-organized layout. The reader should be able to quickly scan and grasp the key points of your resume.
- ATS Compatibility: Many companies use Applicant Tracking Systems to screen resumes. Choose a template with a simple structure and standard headings to ensure it passes through these systems smoothly.
- Customization Options: Look for a resume template that is easily editable, allowing you to tailor it to each specific job application. Personalization is key to standing out.
- Relevance to the Job: Ensure the resume template highlights the skills and experiences most relevant to the position you are applying for.
- Visual Balance: A good template strikes a balance between text and white space, ensuring the content is digestible and the layout is pleasing to the eye.
- Included Sections: Verify that the template includes all necessary sections, such as education, work experience, and skills. Add or remove sections as needed to fit your career history.
FAQs about resume templates
Should I use a resume template for my job application?
Yes, you should absolutely use a resume template for your upcoming job application, especially if the template is well-structured, suits your resume content nicely, and can help speed up your process to begin applying for jobs.
Can I use these resume templates for free?
Yes, you can use any of the templates with your resume for free. Just select the one you like, and start customizing it in Teal to make it your own.
Which resume template should I choose?
Select a resume template that complements your career stage, suits the industry you're targeting, and aligns with your personal brand. Ensure it is ATS-friendly, has a clean layout, and provides enough space to showcase your most relevant skills and experiences. Consider templates that allow for customization, enabling you to tailor your resume for different job applications.
How can I make my resume stand out using a template?
Make sure to personalize your template by incorporating your own unique career story, your strongest achievements, skills. Work on crafting each of your sections with impactful language, and focus on maintaining a layout that guides the reader’s eye to the most important information.
Accelerate Your Job Search with the Resume Builder
Create, update, duplicate, and manage unlimited resumes in one place to simplify your job search.
Generate resume summaries, bullets, and cover letters to save time and improve quality simultaneously.
Build a Resume